Professional Editing Techniques
Professional Audio Editing Techniques
Tuning
An otherwise great performance can sometimes be spoiled by a few tuning errors. It’s easy to put a blanket auto tune on the entire performance, but this can lead to an obvious semi-robotic sound on vocals. With advanced tuning techniques I analyse the performance and apply a natural amount of tuning correction to notes, words or phrases as and when they need such treatment.
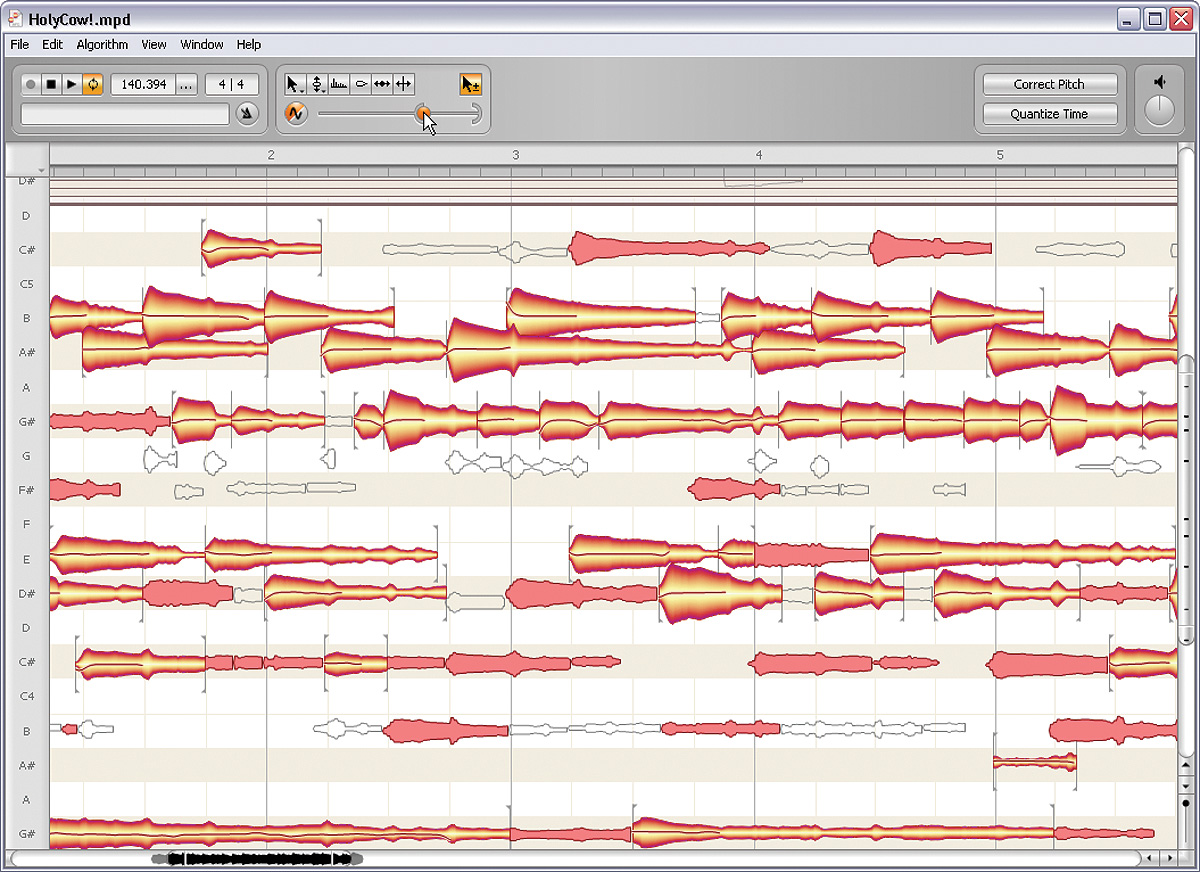
No vocalist in the world will sing exactly in tune. The voice naturally swings around the note and you need this to keep the vibe and feel of the recording to sound good. However, some notes will be either a little too flat or little too sharp and it’s these minor corrections that will make an average vocalist sound good and good vocalist sound great. It’s the difference between a modern sounding vocal compared to a retro sounding one. I will also analyse the way the notes drift between one another and again, apply any correction necessary. It’s up to you how you’d like your vocal to sound, but the charts are now filled with vocals edited in this way.
This technique is not only for vocal parts. We can correct ‘bum’ notes within any instrument. Whether it’s a lead guitar part or just one note that’s buried within an 8 note chord of a piano part. The end result will be a great performance that sounds totally natural and ‘bang on’!
Timing
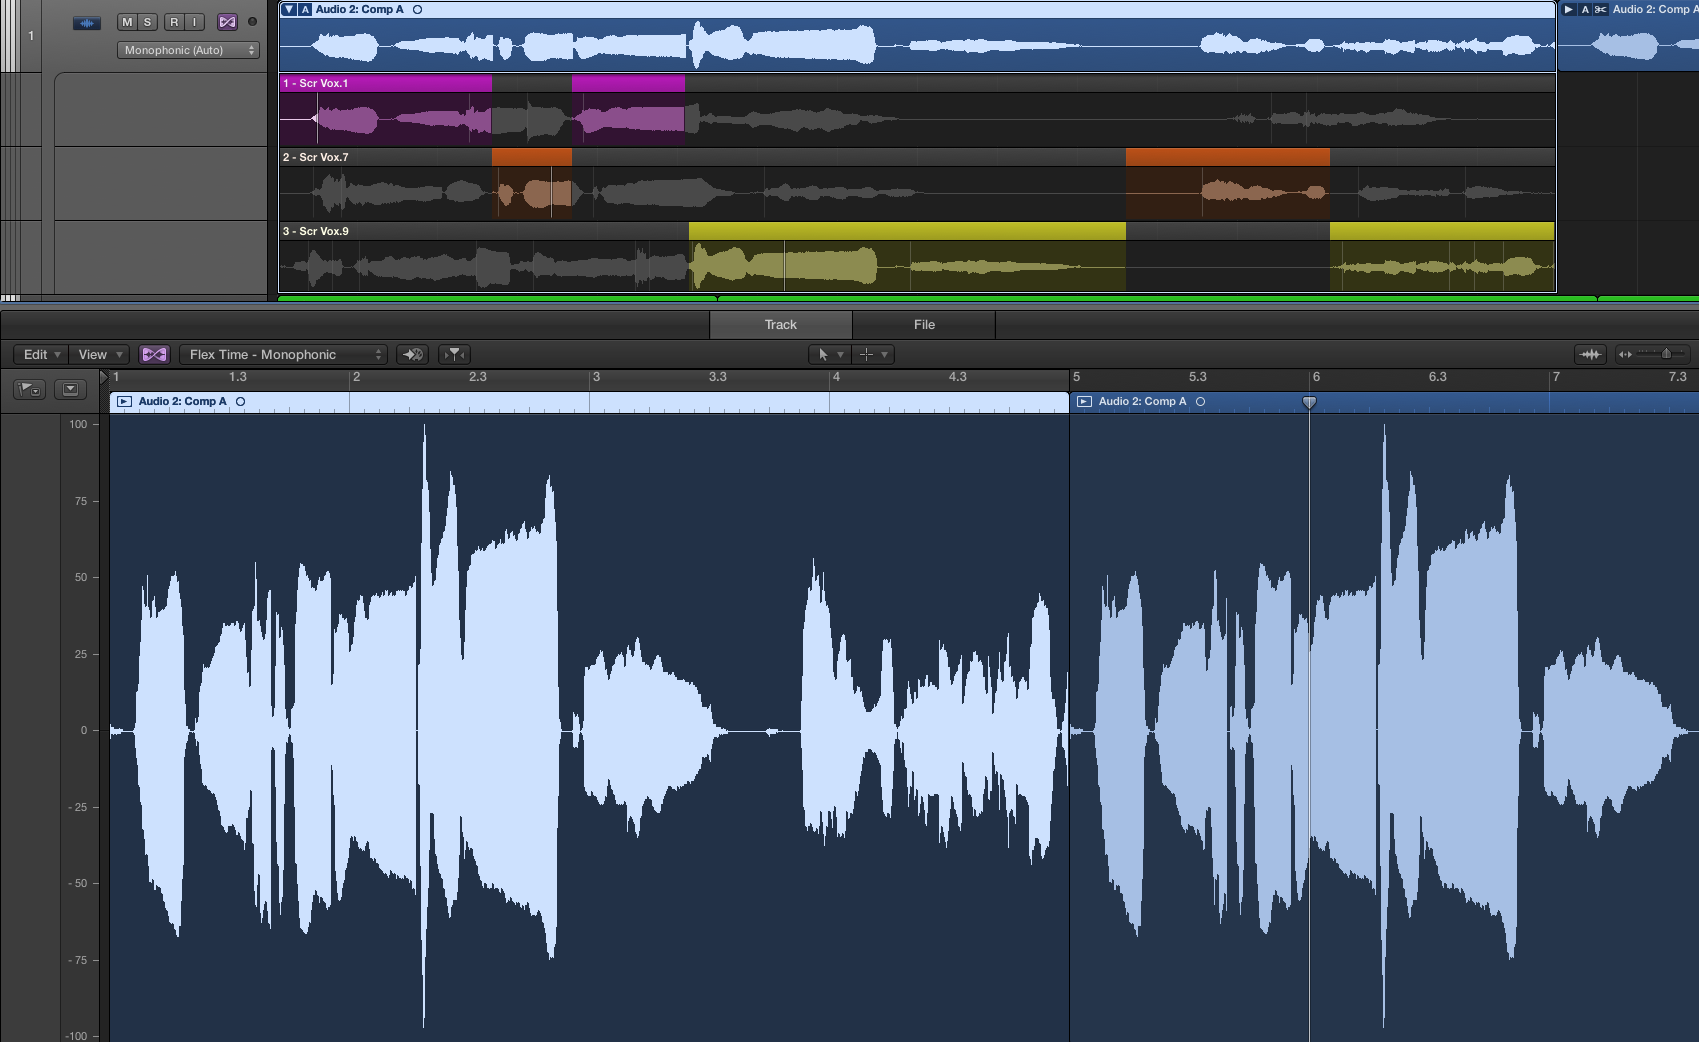
As with the tuning, an otherwise great performance can sometimes be spoiled by a few timing errors. I have the capability to analyse the performance and move individual notes, words or phrases (even if they’re buried within a chord) backwards or forwards in time, to correct any timing errors. Keeping the natural feel and vibe of a performance is important, so It’s a bad idea generally (unless making electronic music) to have all the notes perfectly in time. It’s better to keep the majority of the performance with the naturally played feel and then go back and edit any ‘rogue’ and clearly out of time notes.
Timing errors show up a lot when layering parts together. For example when layering vocals to give a fatter sound or when layering backing vocals together. You need the words to start and end at the same time (or at least within natural tolerances). If they don’t, then it’s noticeable. Something will just feel off or unprofessional. Attention to detail is key. You also need the duration of notes to be within natural tolerances of each other within a phrase. We have the capacity to shorten or lengthen notes as and when required.
These timing errors are also prevalent when layering duplicates of rhythm instruments together. For example, It’s common practice to have a duplicated guitar part hard panned L and R to give a wide stereo field. The notes/chords need to hit and stop within natural, non-obvious tolerances for the performance to sound crisp.
Editing in this way is not to create a good performance out of a bad one. You must endeavour to capture a good performance in the first place. It will however, make a good performance great, with a few minor changes here and there. If you capture a totally great performance to start with, then it’s happy days and you can skip this part.
Back in the day, when recordings were made to tape and pre-modern digital technology, there wasn’t an option to alter things in this way. You’re choices then where to keep playing the part over and over until you managed to get it bang on, or alternatively leave it with a few errors in it. One track that springs to mind where they had timing errors/scuffed notes and left them was David Bowies Sound and Vision, it’s all played pretty loose, but that’s OK it was the 70’s.
Layering
This advanced technique isn’t referring to the standard layering of duplicating parts to create a fatter sound. It’s referring to layering different sounds with the original to emphasise certain frequencies within that sound. Those sounds can either be from a synthetic source, a natural source or pre-recorded sample libraries. We have access to over 500,000 samples of different types and styles that can be called upon for this exact reason. This can be thought of as a production decision and not an engineering one.
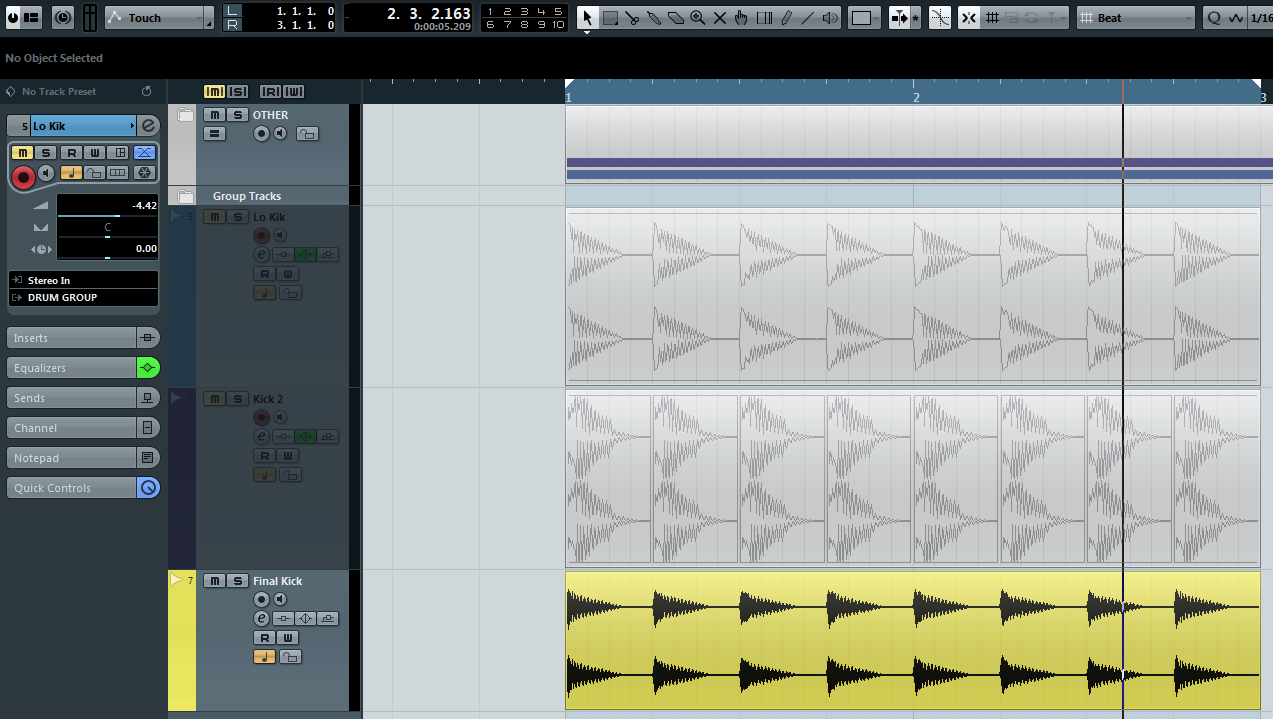
For example, a kick drum can be thought of as three different frequency bands. The really low where the weight is. This is the bit that you feel and makes your trousers flap. The low, which is the punch or the drive and the top which gives the definition when it’s amongst all the other instruments. Different genres of music require different amounts of each and sometimes, EQ and compression isn’t quite enough to get the job done. Therefore layering in this way is the next option.
Most modern music is layered like this. It’s not unusual for a modern pop/rock song to have more than 80+ different tracks/parts recorded because of layering. Even though you might think there are only a dozen or so different instruments in there.
Phasing
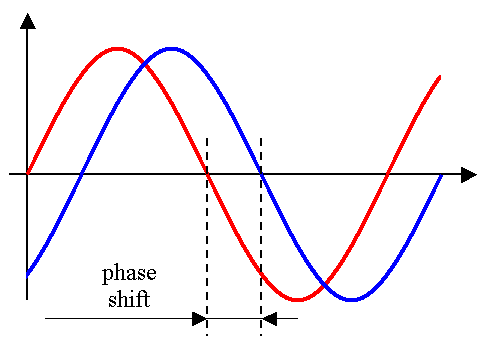
Phase cancellation is a phenomenon that can make certain frequencies vanish from your mix. It usually results from common pitfalls like from poor mic placement, reversed polarity, and other common issues. At its most basic, phase refers to sound waves — simply put, the vibration of air. When we listen to sound, what we’re hearing are changes in air pressure. Just like the ripple of a stone in water, sound is created by the movement of air. And just as in water, those movements cause a rippling effect — waves comprised of peaks and troughs. Those waves cause our eardrums to vibrate, and our brains translate that information into sounds.
When we record sound, the diaphragms in the microphones essentially replicate the action of our eardrums, vibrating in accordance with those waves. The waves’ peaks cause the mic’s diaphragm to move in one direction, while their troughs generate movement in the opposite direction.
Phase becomes an issue when more than one channel is used to record a single source, such as stereo micing a guitar, multi-micing a drumset, or using a microphone/DI combo for bass. Recording “mono overdub style” avoids these issues, but doesn’t give you a dynamic stereo field. In fact, the problem most often manifests itself in when converting tracks from stereo to mono. This can be a big problem if you’re hoping that you tracks will be played out in pubs and clubs, as a lot of them have mono speaker systems. The reason they use mono is because of the shape of the building. There often isn’t a perfect solution to putting the speakers in stereo because the speakers themselves can cause phase cancelation and the listeners will only get part of the sound.
I have several tools and techniques at my disposal to monitor for phase cancellation and to be able to correct it. These procedures are undertaken right from the initial recording phase, through to the mastering phase, so your tracks will sound great on any system.
Volume Riding
When a recorded part is mixed, attention needs to be given to each note, phrase and word to ensure that it sits at the correct volume. It should neither be too loud nor too quiet relative to the other parts of the vocal. Audio compression is a standard technique used to address this. However, compression is globally applied to the entire take and will only succeed at this task up to a point. Traditionally, the mix engineer would listen back to the recording on final mix down and adjust any volume anomalies manually using the volume fader on the mixing desk. This would be done ‘live’ on final mix down and could only be done sporadically on obvious parts because he only has two hands to control all the faders.
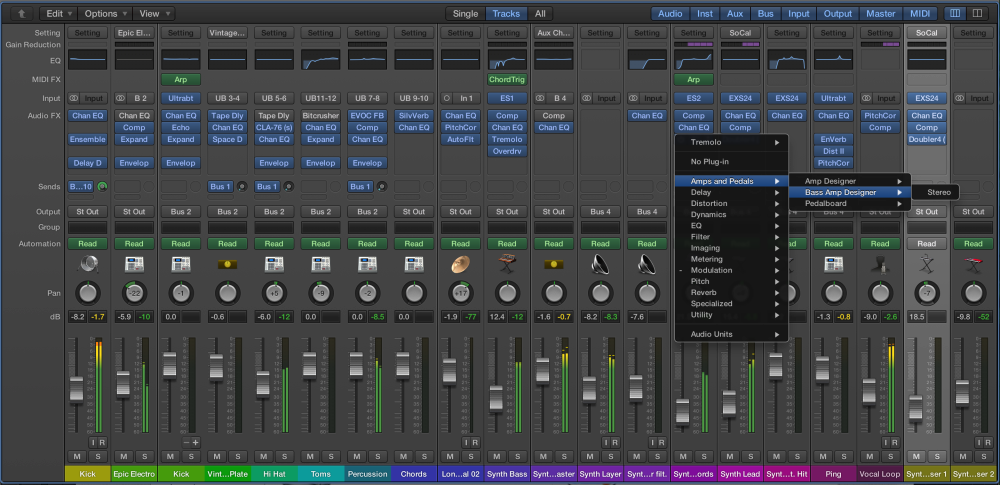
With advanced techniques of this type I have the ability to automatically analyse the recording and set any adjustments at a micro level without having to do it ‘live’ on mix down. I can also view each waveform and draw a specific volume level that we want that waveform to follow. This will lead to a much more balanced and natural sounding recording than over compression or manual volume adjustments.
Noise Removal
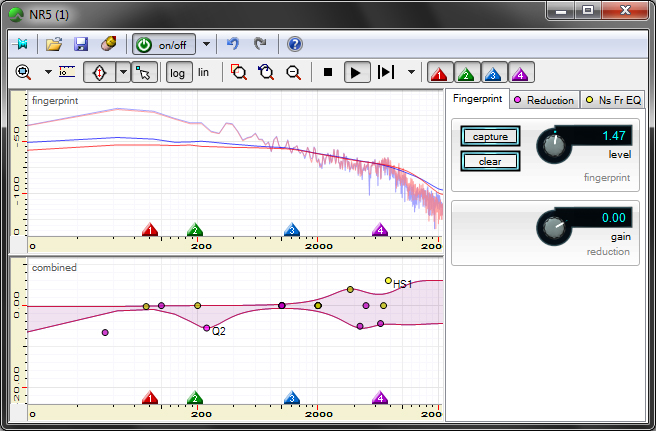
All recording devices, both analog or digital, have traits which make them susceptible to noise. Noise can be random or white noise with no coherence, or coherent noise introduced by the device’s mechanism or processing algorithms. When recording in the studio, the signal path and level settings will ensure that any noise will be for all intent and purpose inaudible. However, when the recording is made in a live situation or from a source outside of the studio or from an old recording that used tape, then noise removal might be necessary to clean it up. Noise comes in different types, white, pink, and brown noise, clicks, pops, crackles and hums. I use dedicated tools, that specifically focuses on the particular type of noise problem and will reduce it by the amount desired.
Swing/Groove
Swing and groove can be thought of as the slight timing movements within a piece of music that give it that skip, urgency or relaxed feel. Some music, dance music for example, work on a repeated swing/groove throughout the track, so there’s a consistency from start to finish. Other styles of music have a more natural swing or groove. This comes down to the musician involved and how they feel the part should be played, either slightly ahead or behind the beat, or on the beat but with certain notes/chords ahead or behind.
Either way, if for some reason the musicians aren’t locking together to get that perfect swing/groove, I have techniques and technology that will allow us to synchronise and lock things together as they should be. This will result in a much tighter and professional track than we may have had before.
Stereo Imaging
Stereo imaging refers to the aspect of sound recording and reproduction concerning the perceived spatial locations of the sound source(s), both laterally and in depth. An image is considered to be good if the location of the performers can be clearly located; the image is considered to be poor if the location of the performers is difficult to locate. For many listeners, good imaging adds markedly to the pleasure of reproduced music.
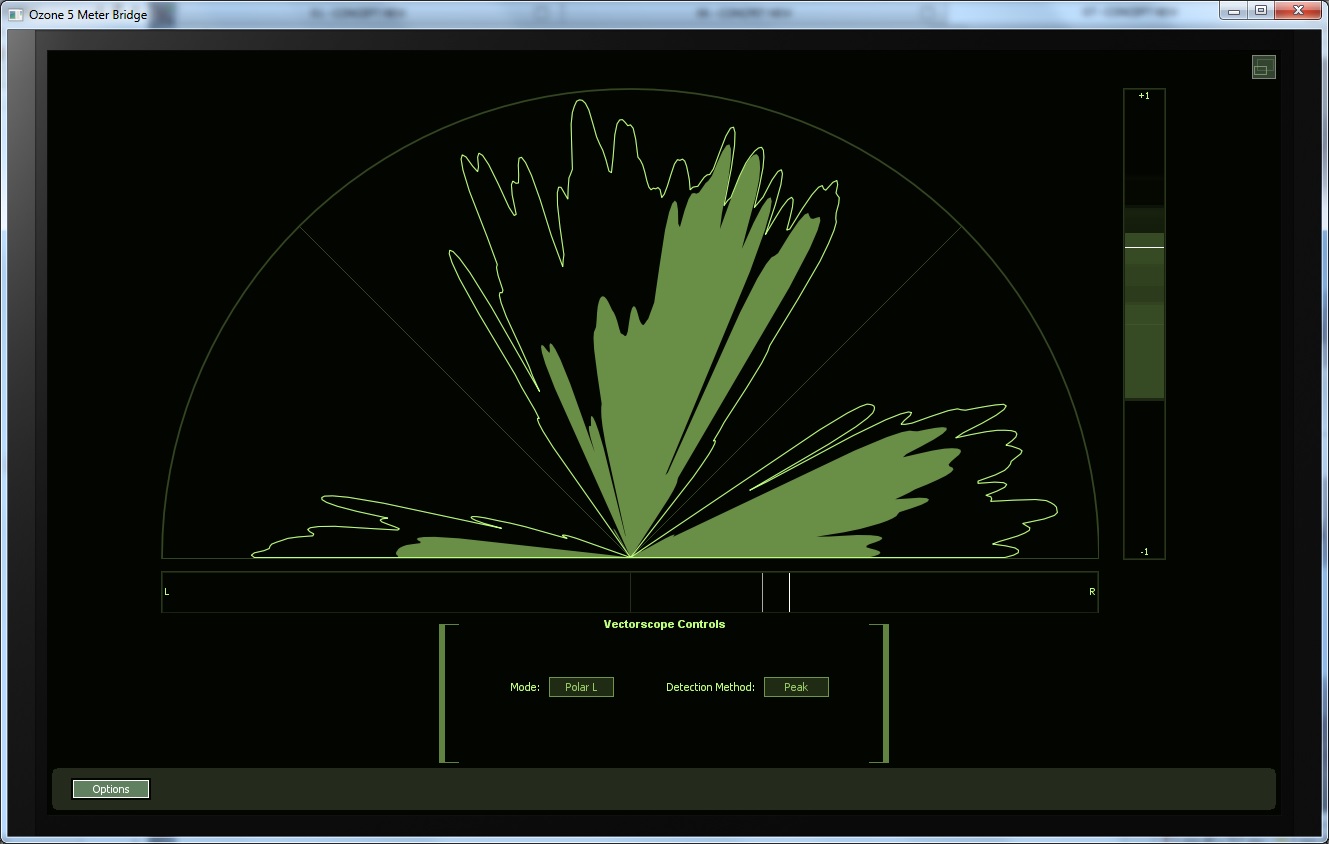
The quality of the imaging arriving at the listener’s ear depends on numerous factors, of which the most important is the original “mic’ing”. This is partly because mic’ing simply affects imaging more than any other factor, and because, if the mic’ing spoils the imaging, nothing later in the chain can recover it. If mic’ing is done well, then quality of imaging can be used to evaluate components in the record/playback chain (remembering that once the imaging is destroyed, it cannot be recovered). It is worth noting that only a handful of recordings are mic’ed for optimal imaging, and what usually passes for stereo, while being two-channel recording, is not true stereo because the imaging information is incoherent.
I employ many imaging techniques from the mic’ing mentioned above to dedicated imaging software to place a sound correctly within the 3D audio spectrum.

Emulations
Sometimes when making a track the artist is looking for a specific vibe and feel. This may be the vibe of the 70’s or 80’s or the vibe of another artists album like Bowie or The Beatles. In order to try and capture this we must use the same equipment they used and the same engineering/production techniques.
There are software technologies around today that help achieve emulations in this way. The various emulation software that I use will mimic vintage equipment and create ‘that sound’ or ‘vibe’. It’s also a combination of using the correct microphone, amp, compressor, EQ, mixing desk etc. I have many tools that can to just that. I even have emulations that can mimic the sound created by the recording room of some famous recording studios like Abbey Road.
Glide/Portamento
This is the time and curve it take to move from one note to another. For example a piano has no glide/portamento as the notes change instantly as the keys are pressed. Stringed instruments can have glide/portamento by sliding up or down to the next note. The voice has natural glide/portamento to go from one note to the other.
If there are parts of a recording where the glide/portamento are too long or too short, I have methods of breaking in to it and adjusting it accordingly. You might think this is a bit finicky, but it’s professional editing like this that make great recordings out of good ones and as they say “good isn’t good enough anymore”. Modern recordings are picked through with a fine tooth comb.
Sample Editing
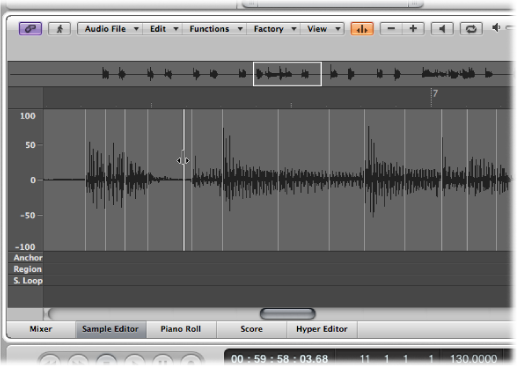
Sample editing (or waveform editing) allows me to zoom right in to any audio part and alter individual samples within a waveform. A sample is the smallest snapshot that is captured by the recording. A CD is recorded at 44,100 samples per second in its final form. The recording process can see sample rates up to 196,000 samples per second.
Using this technique I can microscopically trim, cut, boost, remove, copy, change, the smallest possible part of the audio in any way required.
Mid/Side Processing
There are many reasons to want to achieve a full, wide sounding mix. A mix that is perceivably fuller and wider will sound “better” to the listener. Creating a mix that sounds more present but with a more sonically interesting texture can add interest to the different sections of a song or enhance the arrangement of a track. A wide sounding mix can be achieved through a variety of panning and stereo imaging techniques, including one secret weapon of the engineer: Mid/Side processing. Mid/Side is a highly effective way of making adjustments to the specialisation of a mix or master.
The Mid channel is the center of a stereo image. When the Mid channel is boosted, the listener perceives a more centered (mono) sound to the audio.
The Side channel is the edges of a stereo image. When the Side channel is boosted, the listener perceives a more spacious (wider) sound to the audio.
Tonal or dynamic adjustments, such as Equalization (EQ), Dynamics, Reverb, etc., are traditionally done in mono or stereo. Any processing that is applied would affect the entire mono / stereo signal of the audio track. This is not case when using M/S techniques and the mono or stereo parts of the performance can be effected separately. I use M/S processing techniques to achieve exactly this. I also use M/S techniques when recording instruments to get a fuller and wider sound where necessary.
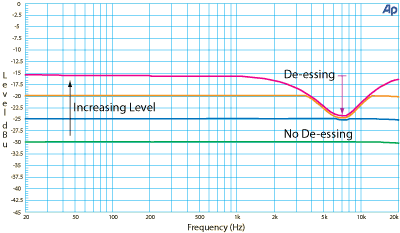
De-Essing
When a vocalist sings an ‘S’ consonant as part of a word, the mixing process (EQ and compression typically) can make it sound too harsh on the ear. It’s generally sat at that frequency that get’s inside your head too much. The engineering technique used to reduce this is called de-essing. It basically focuses in on the exact frequencies where the ‘S’ is sitting and reduces the volume by the required amount, as and when an ‘S’ is sang.
De-Breathing
When a vocalist sings a song, they naturally have to breath between phrases. All vocal parts will be compressed in one way or another to make them sit correctly within the mix. The side effect of compression is that additional low level sounds like breath noises with become more prominent. Some vocalist like the sound of their breathing to be apparent. However, most either want them removing or reducing. Removal or reduction of breath noises can be done manually or by using technology. Manually can sometimes be time consuming (which takes a little more studio time). Using technology can be quicker, but may not be as effective on certain performances. I employ both methods and will use the one that’s most suitable for the customer at the time.
Advanced Effects
I have a huge array of effect possibilities. If it needs slicing, dicing, chopping, changing, squashing, distorting, driving, widening, narrowing, shifting, repeating etc etc, I will have the tools to do it.
Parallel Compression
Compression is one of the most common techniques to use with audio recordings. It controls the peaks and troughs within a performance, which then allows the part to sit within the mix in a more controlled way. Parallel compression is an extension to this. It keeps the original peaks and troughs as they were (thus keeping the original dynamic intact) and layering it with a duplicate of the performance with the peaks and troughs severely removed. This method adds a lot of ‘umph’ without destroying the dynamic of the original. It’s not something that’s needed everywhere, it’s just used where extra ‘umph’ is needed. It’s a technique I employ as and when required.
